“The mulberry House”
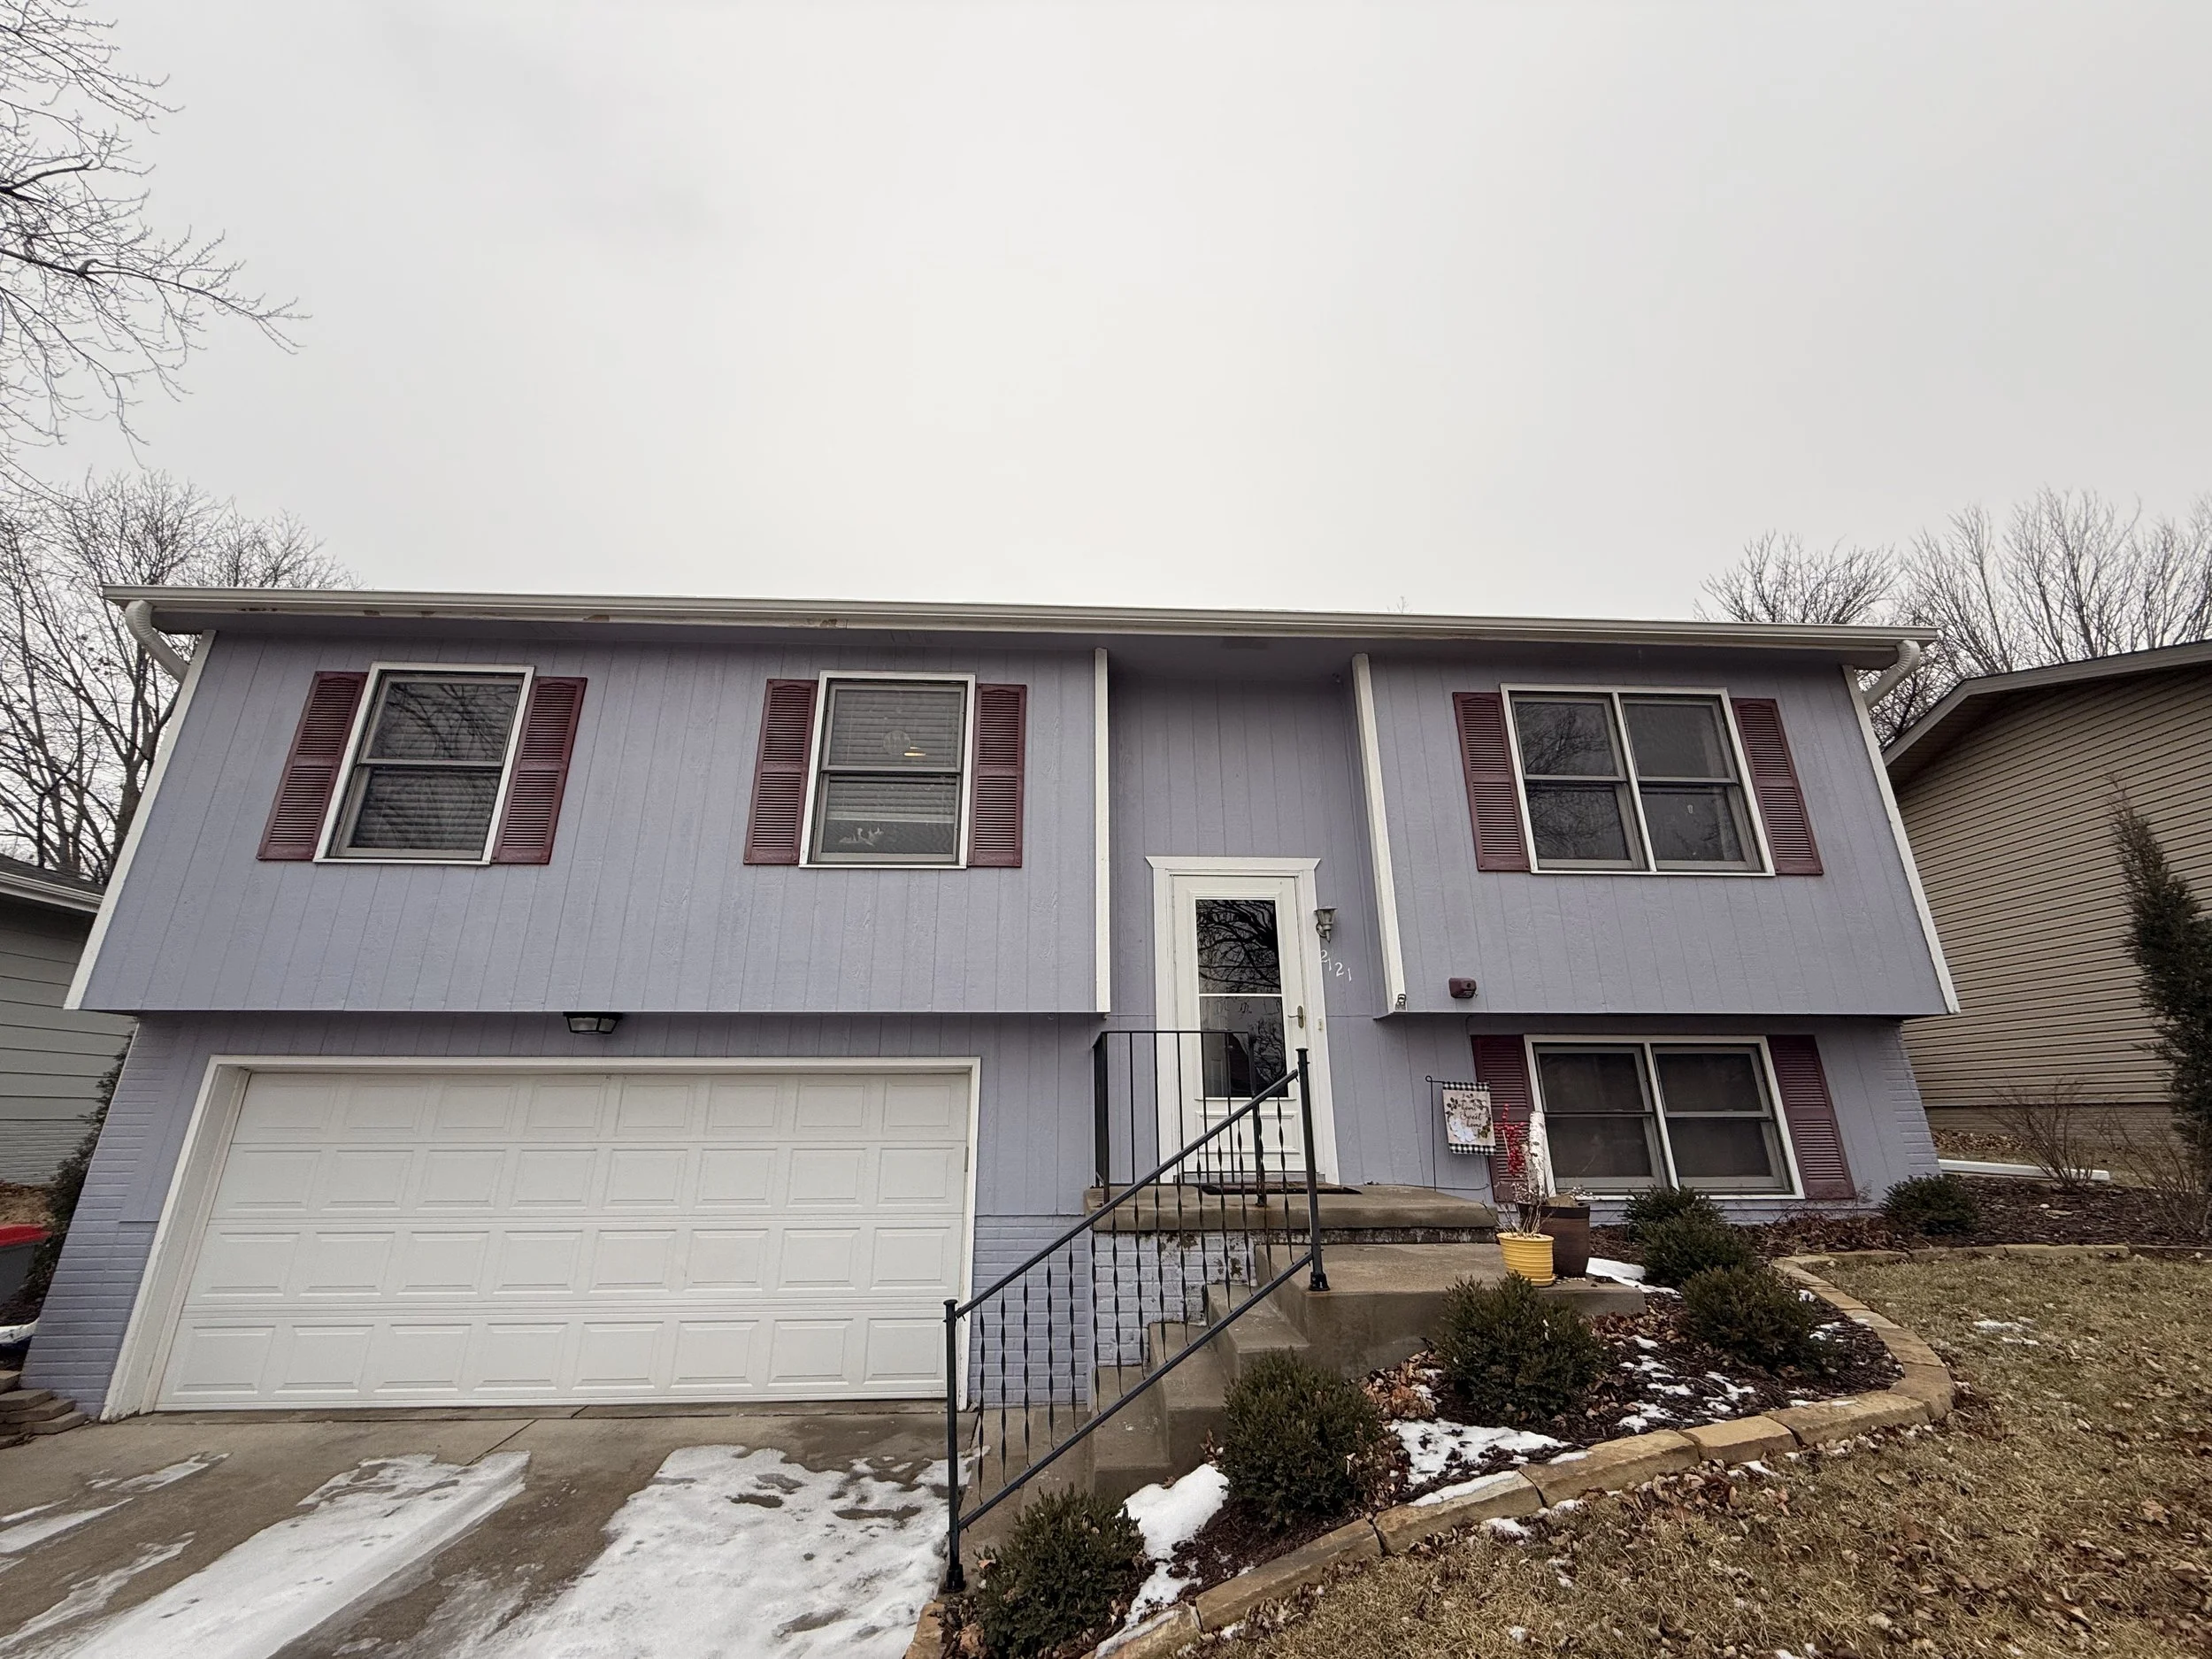
Before renovation
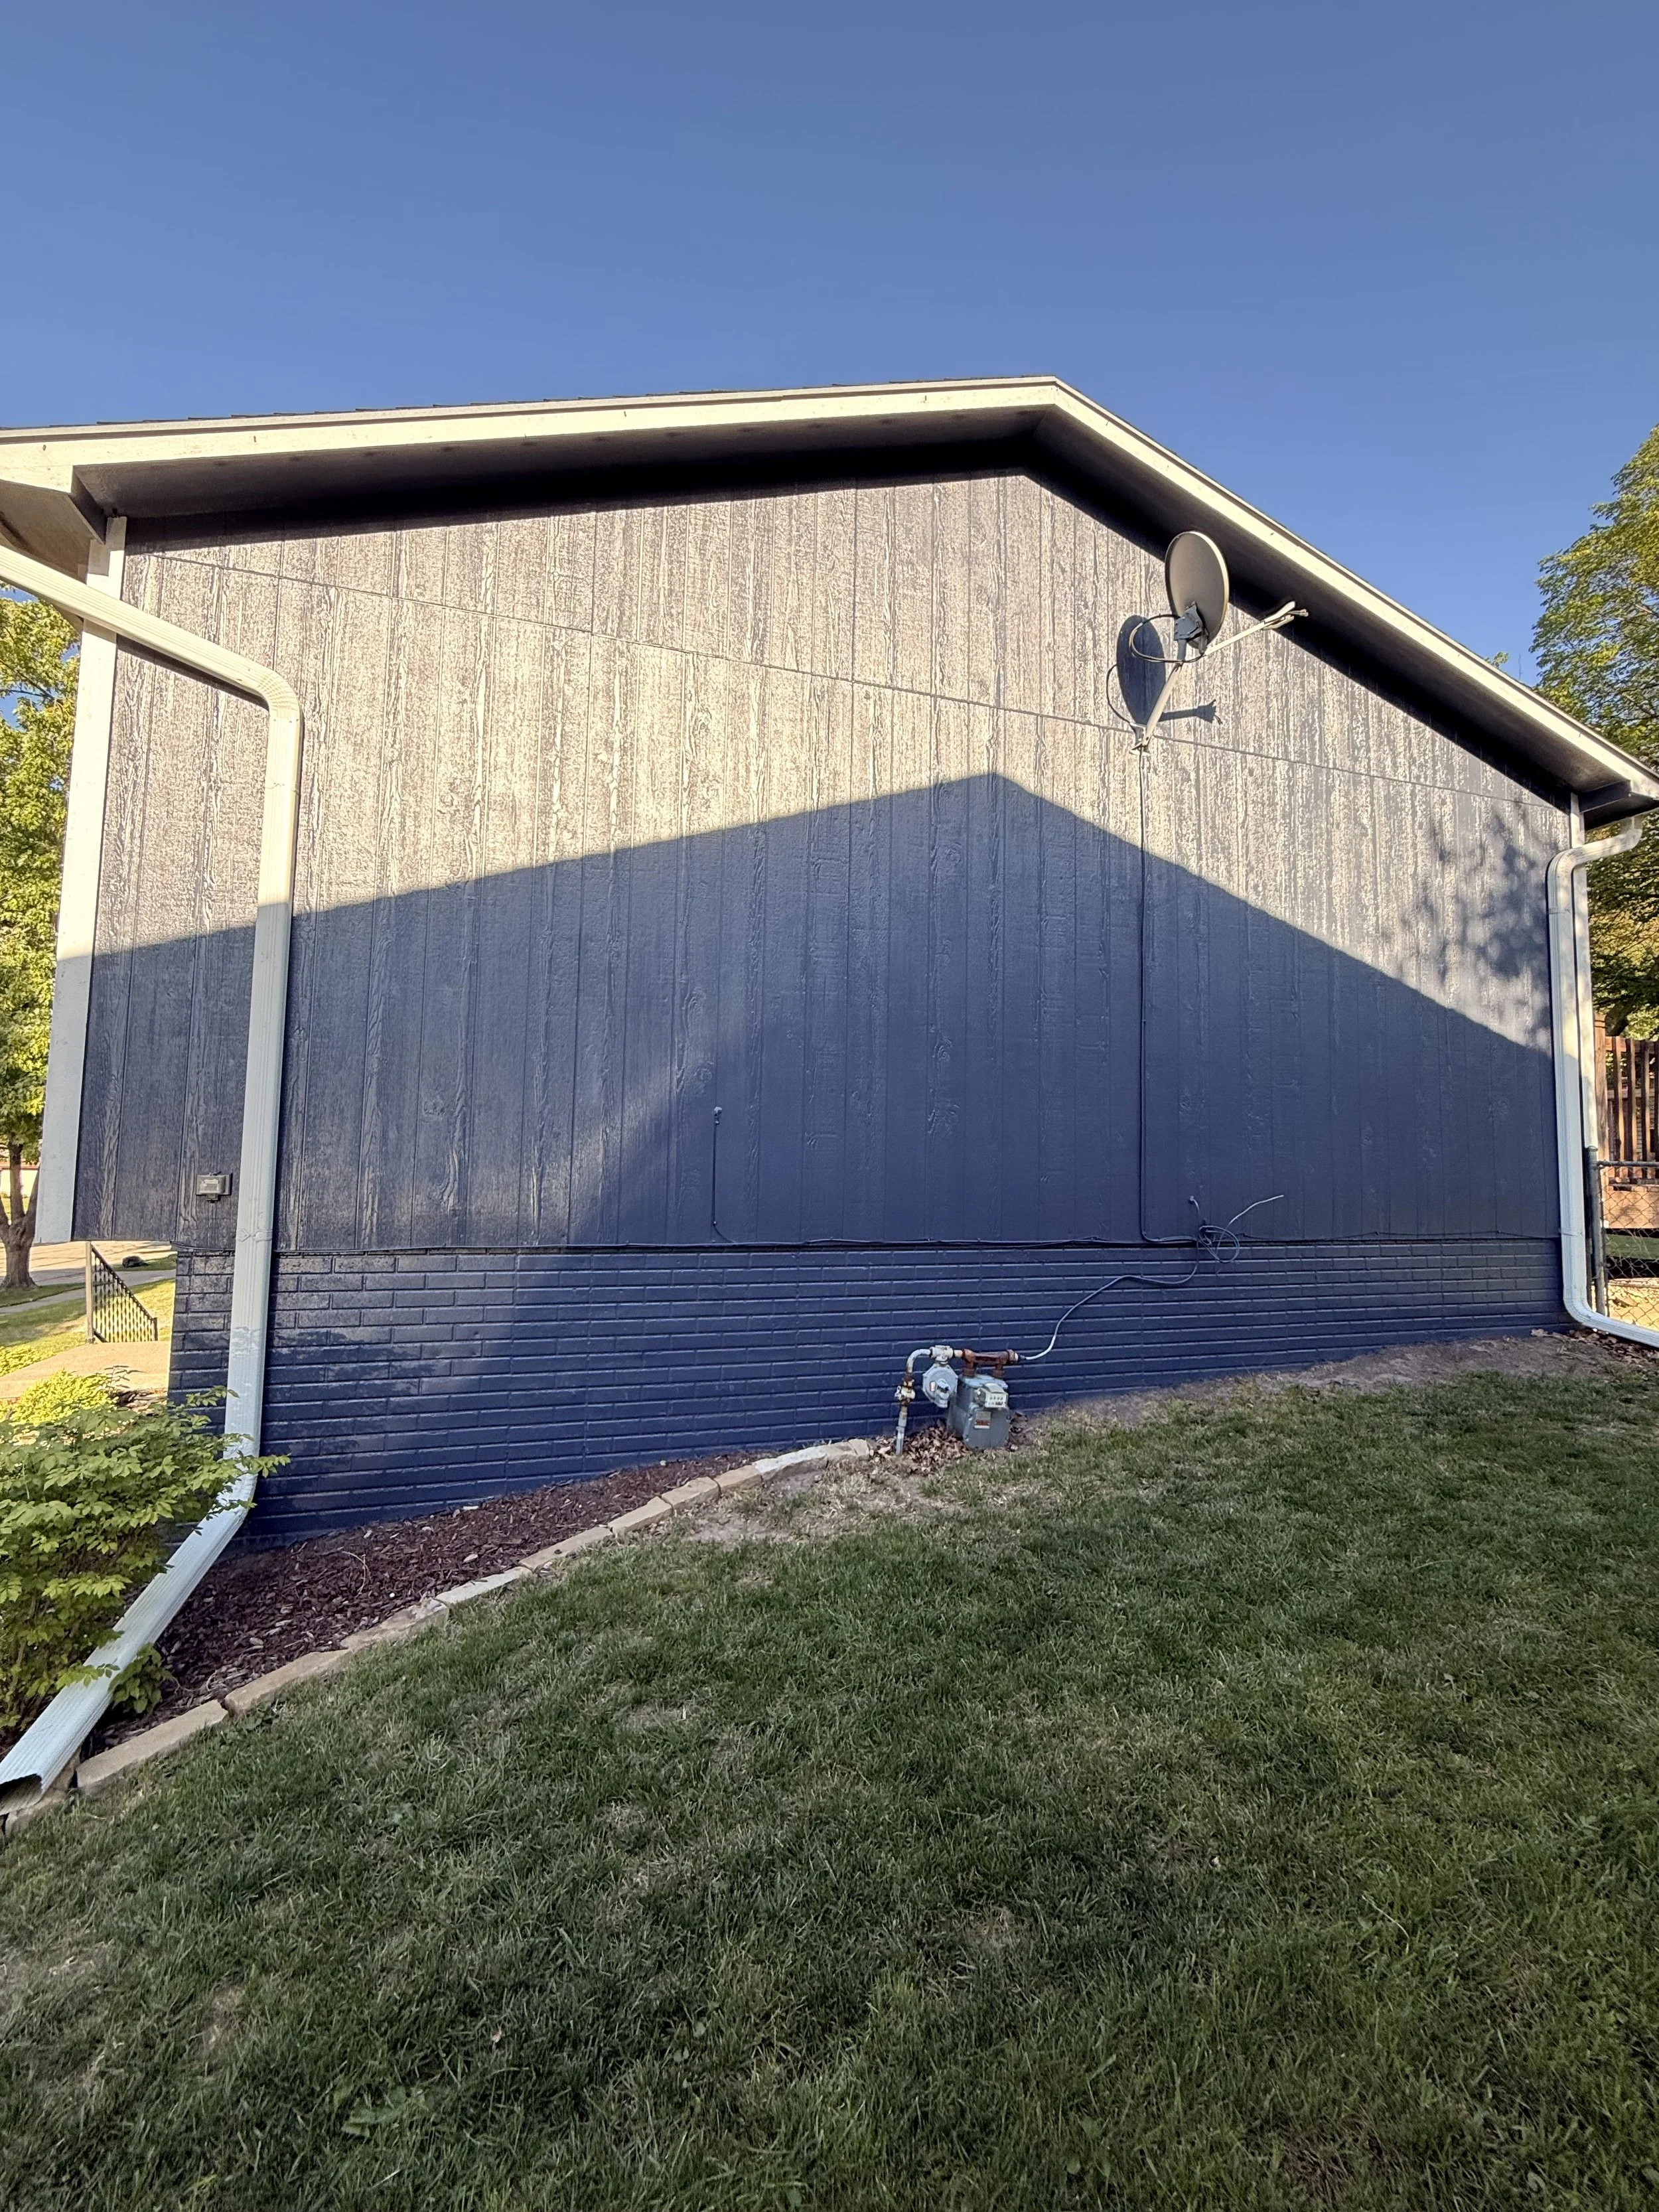
This house is what the homeowner called, “The Mulberry House”. As she was warned when they bought the house, that the house needed painted due to longevity of siding/ exterior. They made the decision to go with us, and we are so glad they did. The mulberry house is no longer the mulberry house, but instead the house on the block that everyone looks at as they are driving by or walking their furry friend. Here is the process front start to finish on how we transformed this house. Thanks for stopping by and enjoy!
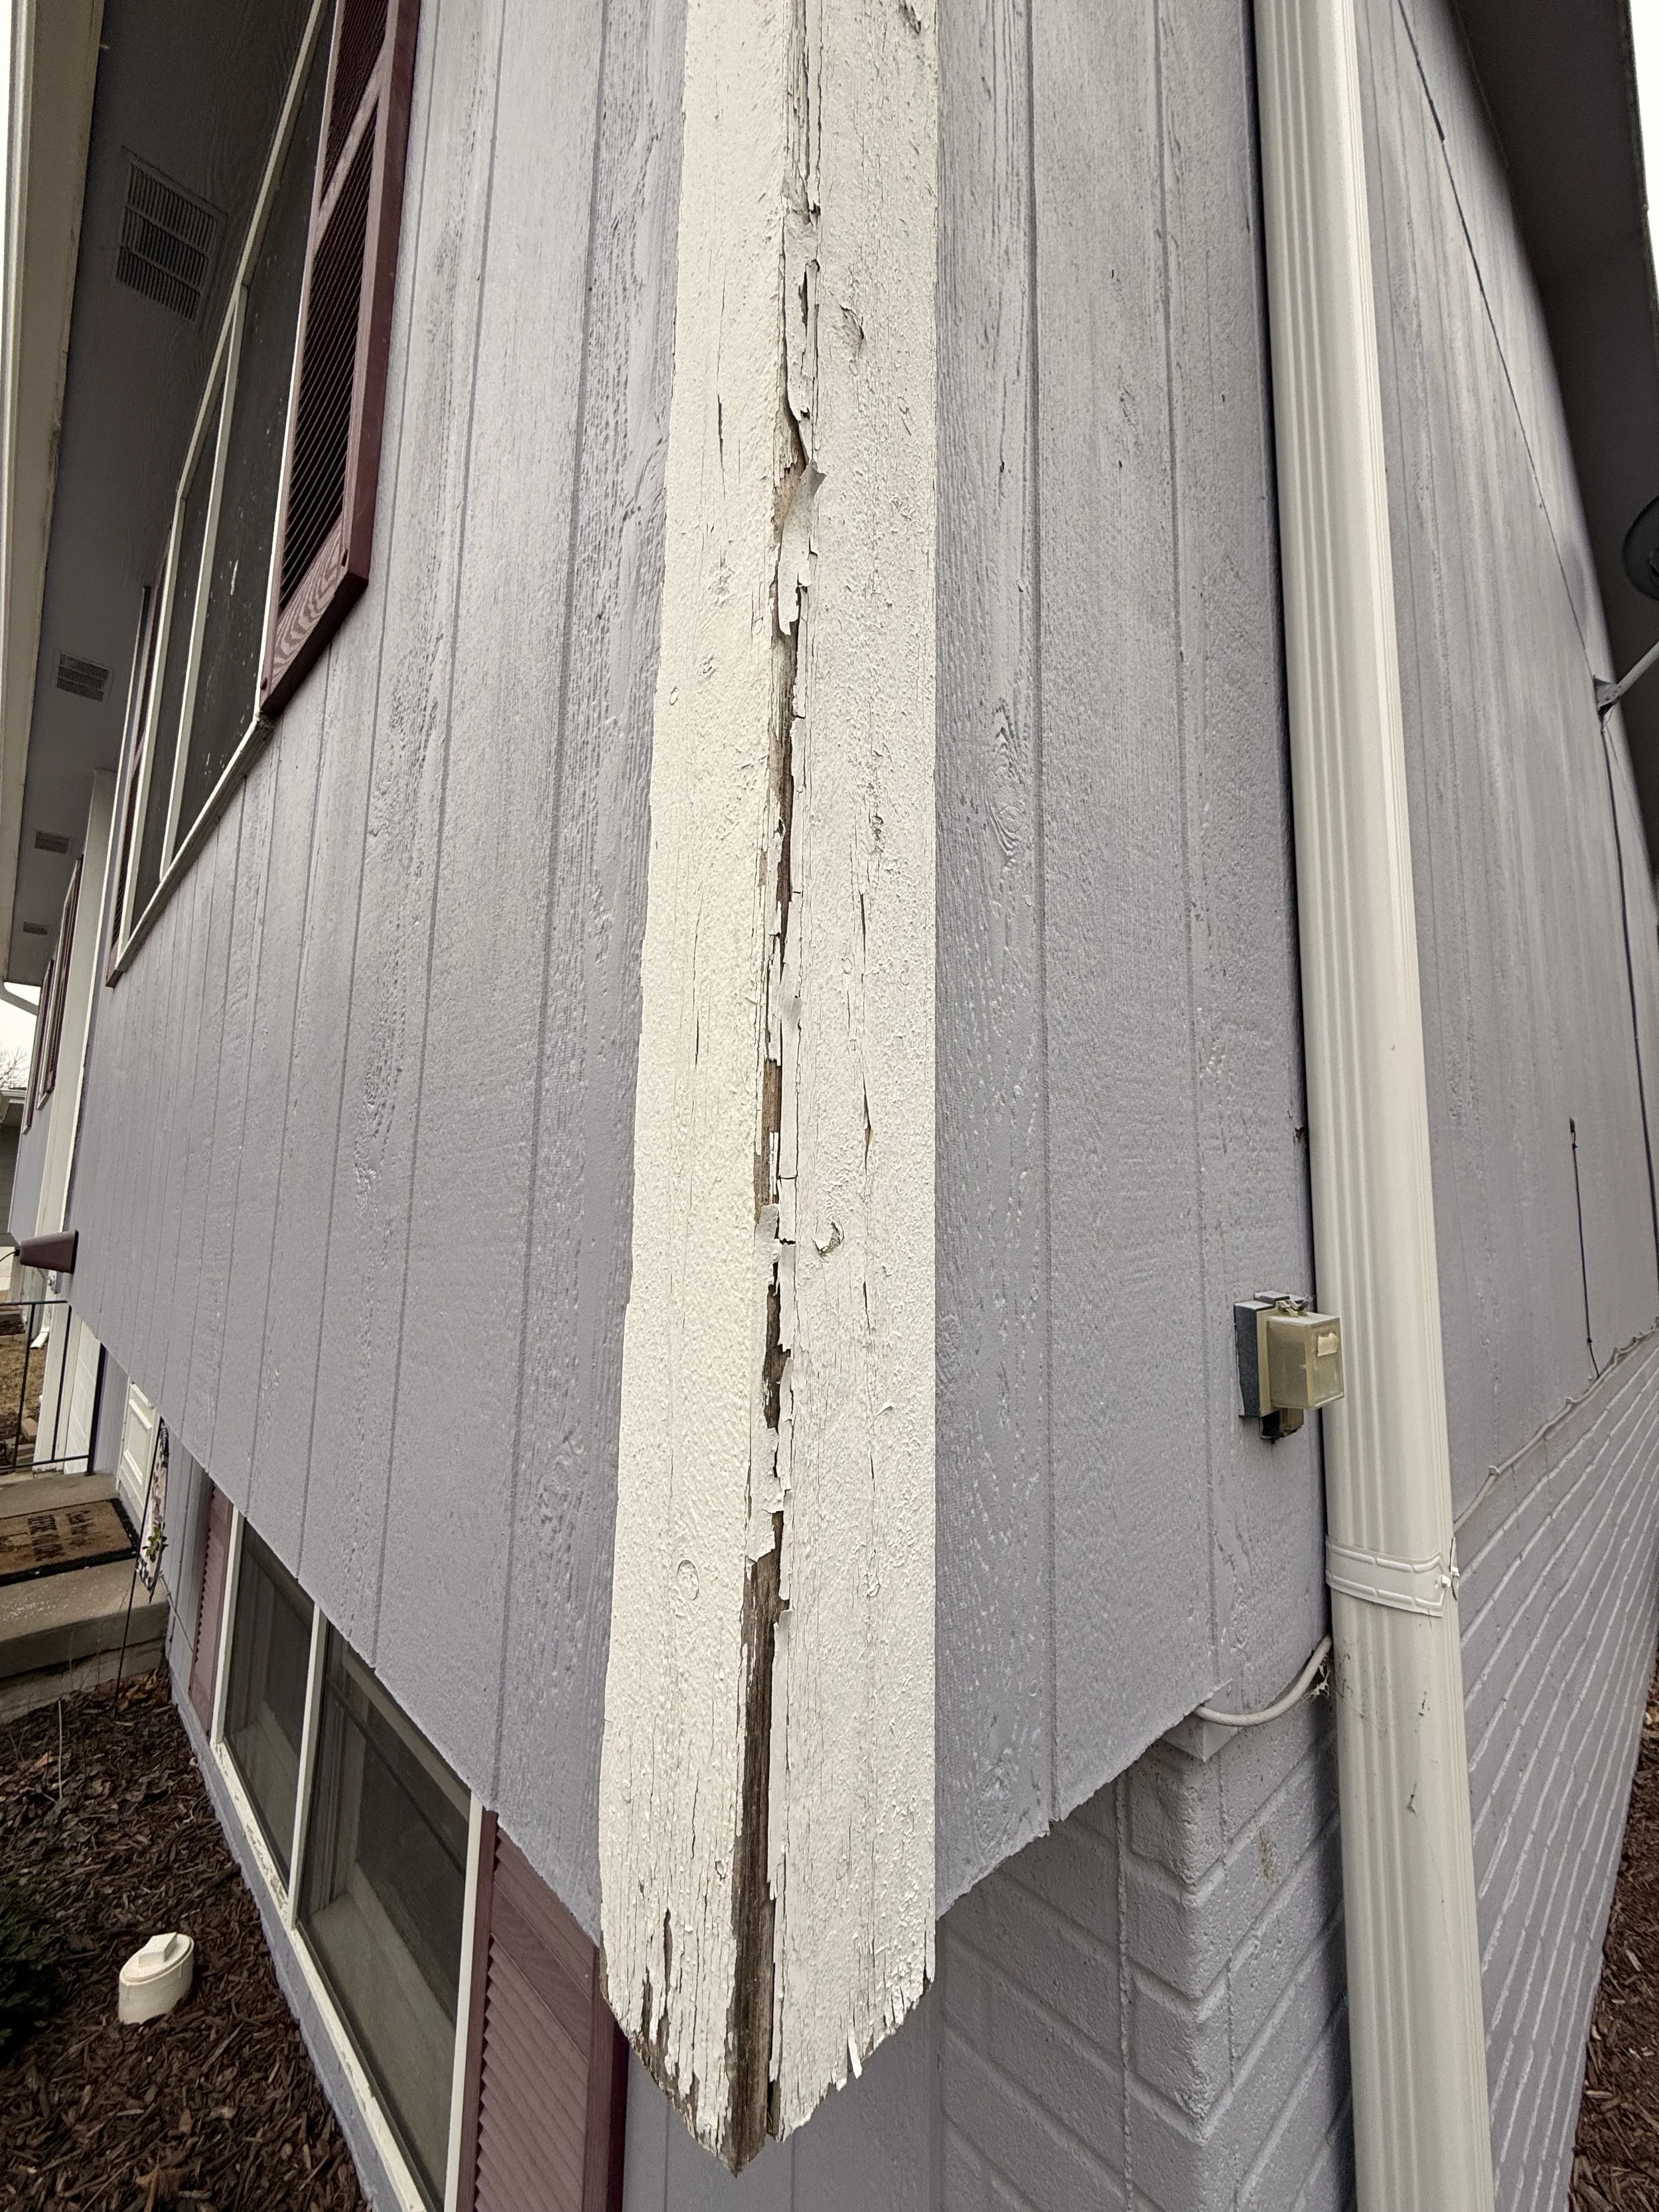
peeling and weathered trim
Once the customer reached out, we came out within a couple of days to measure for their estimate. Once the estimate was approved, we began the phase of design. We sent them multiple color options and variabilities that best suited their home as well as their budget. We take pride in quick responses from the beginning of the reach out all the way through the competition of the job. This is just one perk of working with us. No, “when are they coming to work? Are they coming back?” Finally contractors that actually communicate!
The picture shown above is just one portion of the exterior that needed addressed. All of the corners, windows, and fascia had some sort of peeling paint/damaged.
The first step of prep was to power wash the entire house eliminate any dirt/dust/or debris on exterior of the house. This step is key for a long lasting finish as it allows the paint to have the best possible adhesion to the exterior surfaces.
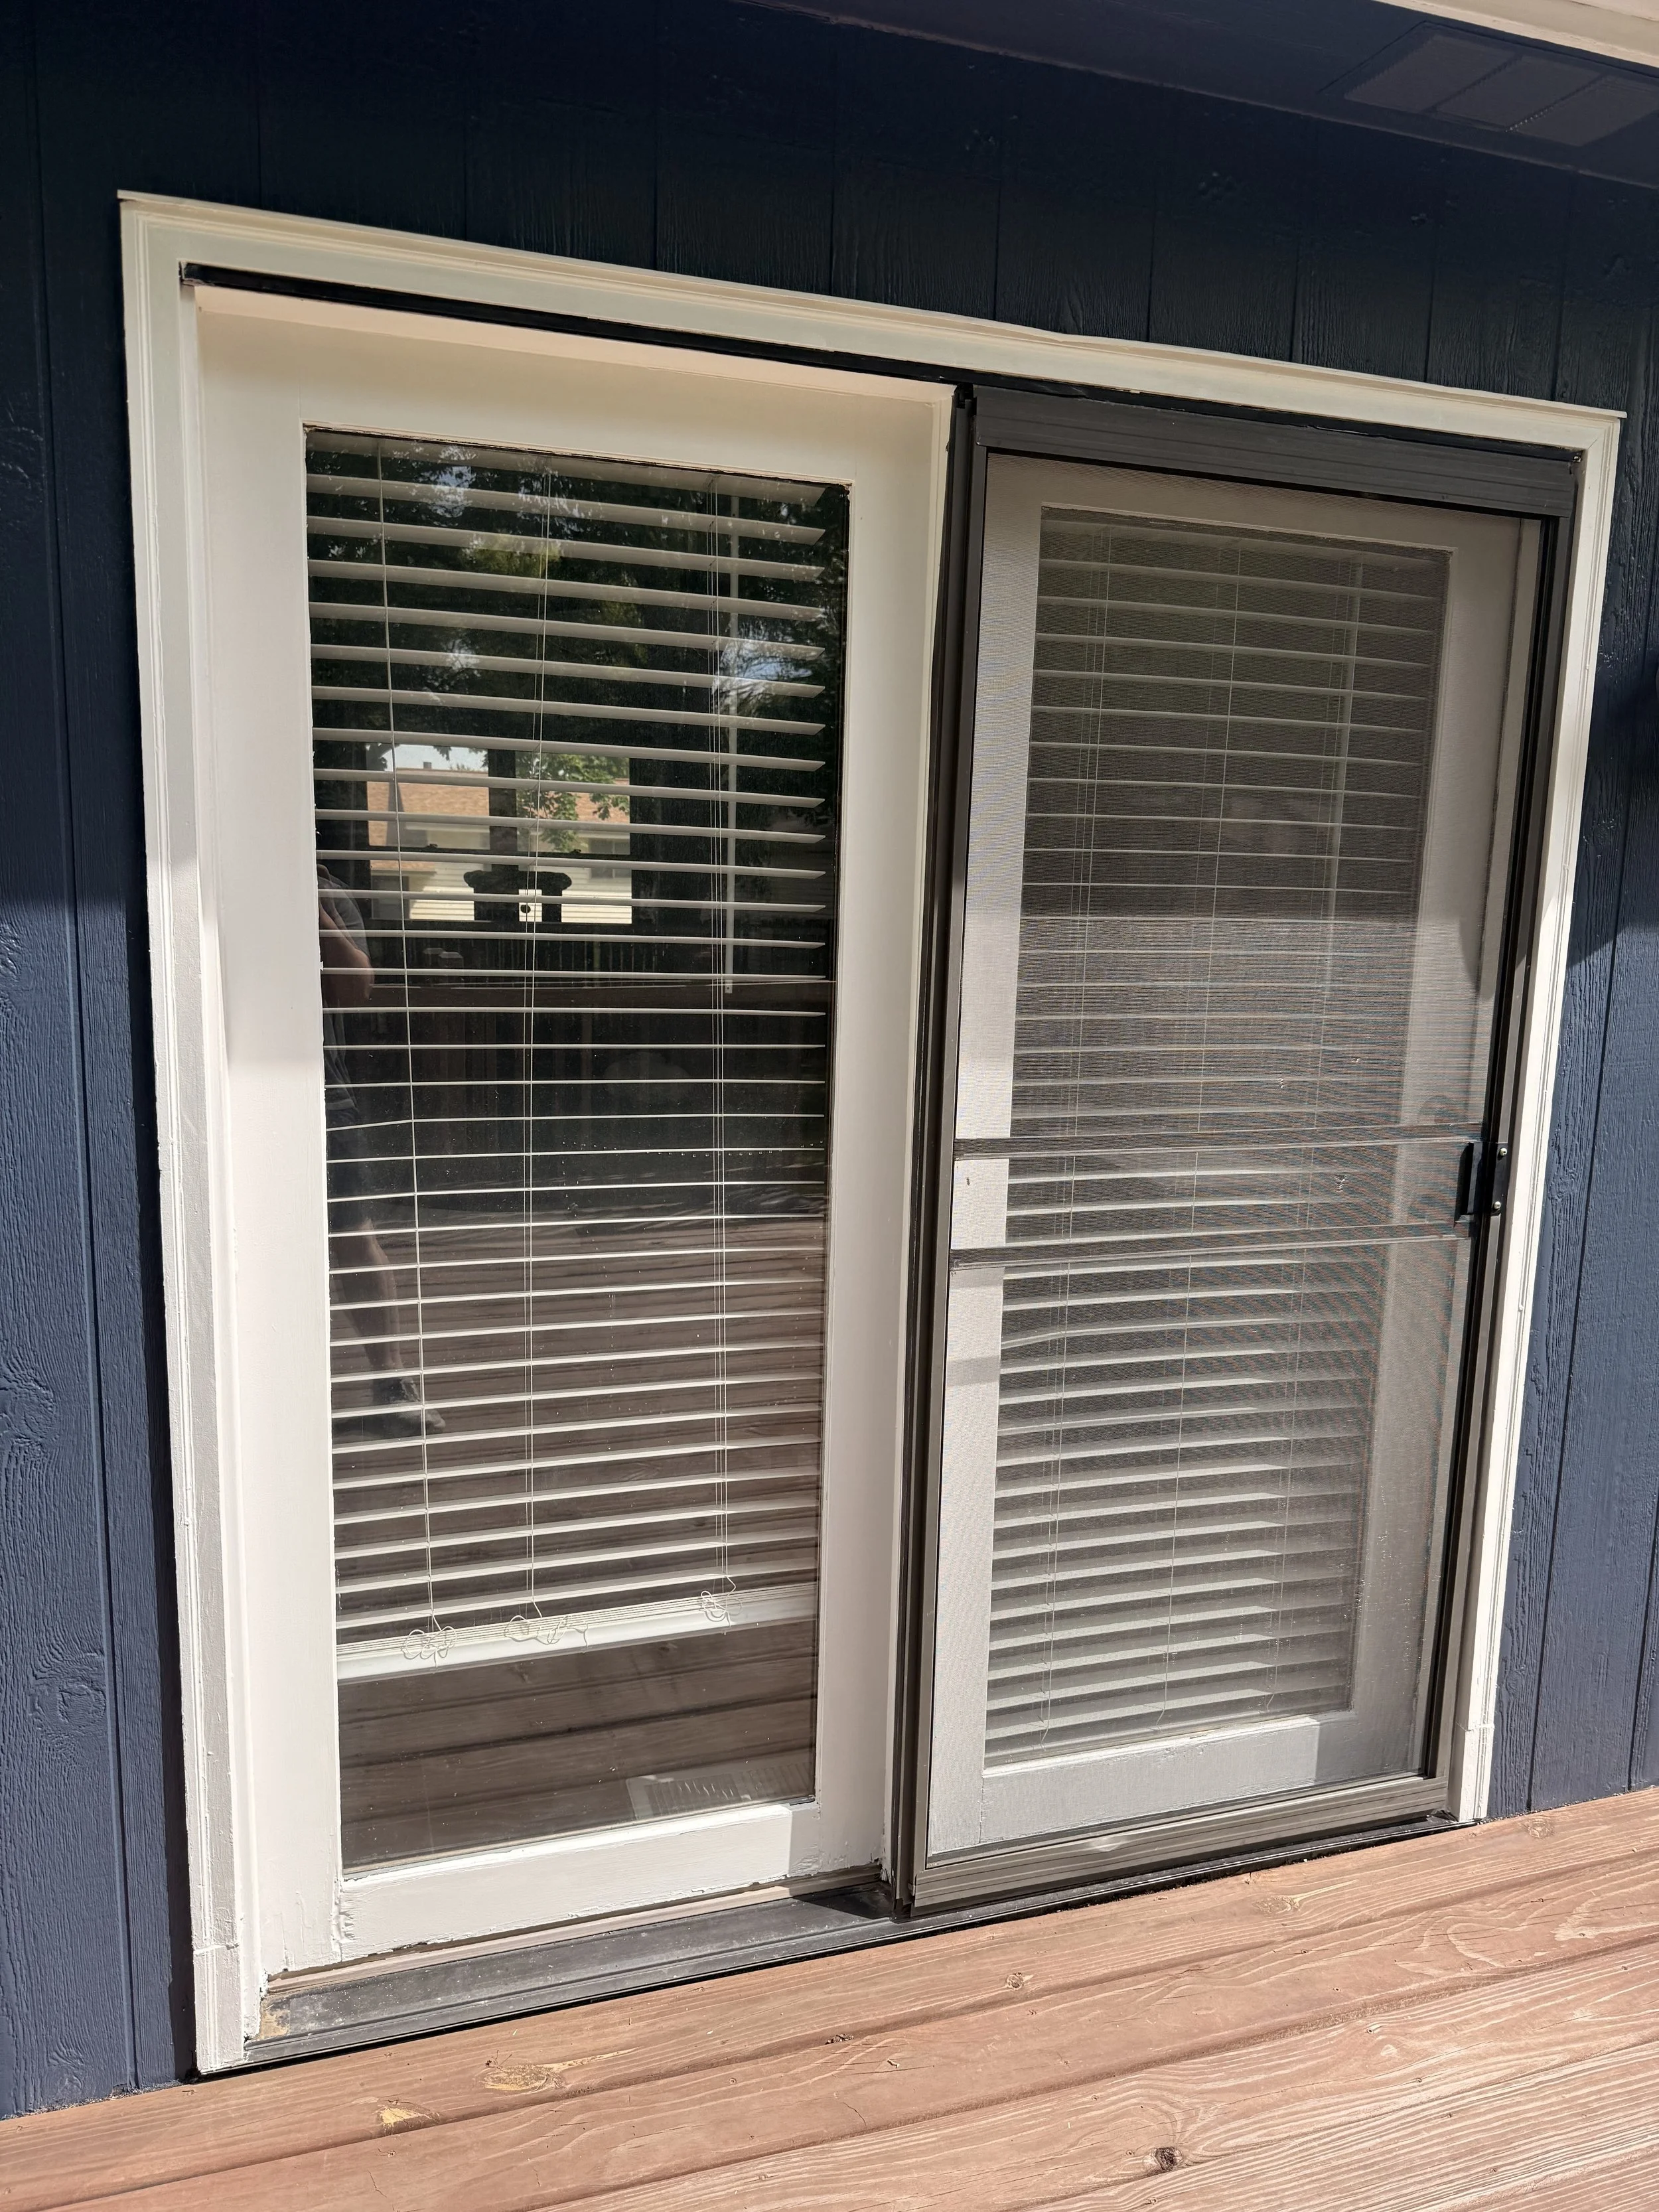
Next step was to scrape off all loose paint on the whole exterior. This included as stated above - trim, windows, fascia, as well as an exterior patio door that we renovated while we were on the property.
After all loose paint was scraped off on affected areas, we proceeded to spot prime all bare wood with Sherwin William Exterior Extreme Bonding Primer. This helps seal the wood from further water absorption and potential damage down the road.
Caulking, caulking, and … you guessed it, more caulking! We addressed every siding joint, window joint, fascia joint, and around all the trim. This alone made a key difference on not only how it looks aesthetically, but also on the performance side of things as well.
Last part of prep was masking. We masked off all doors, windows, and all components on the back & side of the house that didn’t need painted. We also laid down drop cloth to protect the landscaping from any damaged. This is an important step that we take seriously - you can trust that only the portions that need painted, will be painted!
Now time for the final reveal of the after. If you have read this far, we appreciate you, and hope you choose us for your next project. Thank you! :)
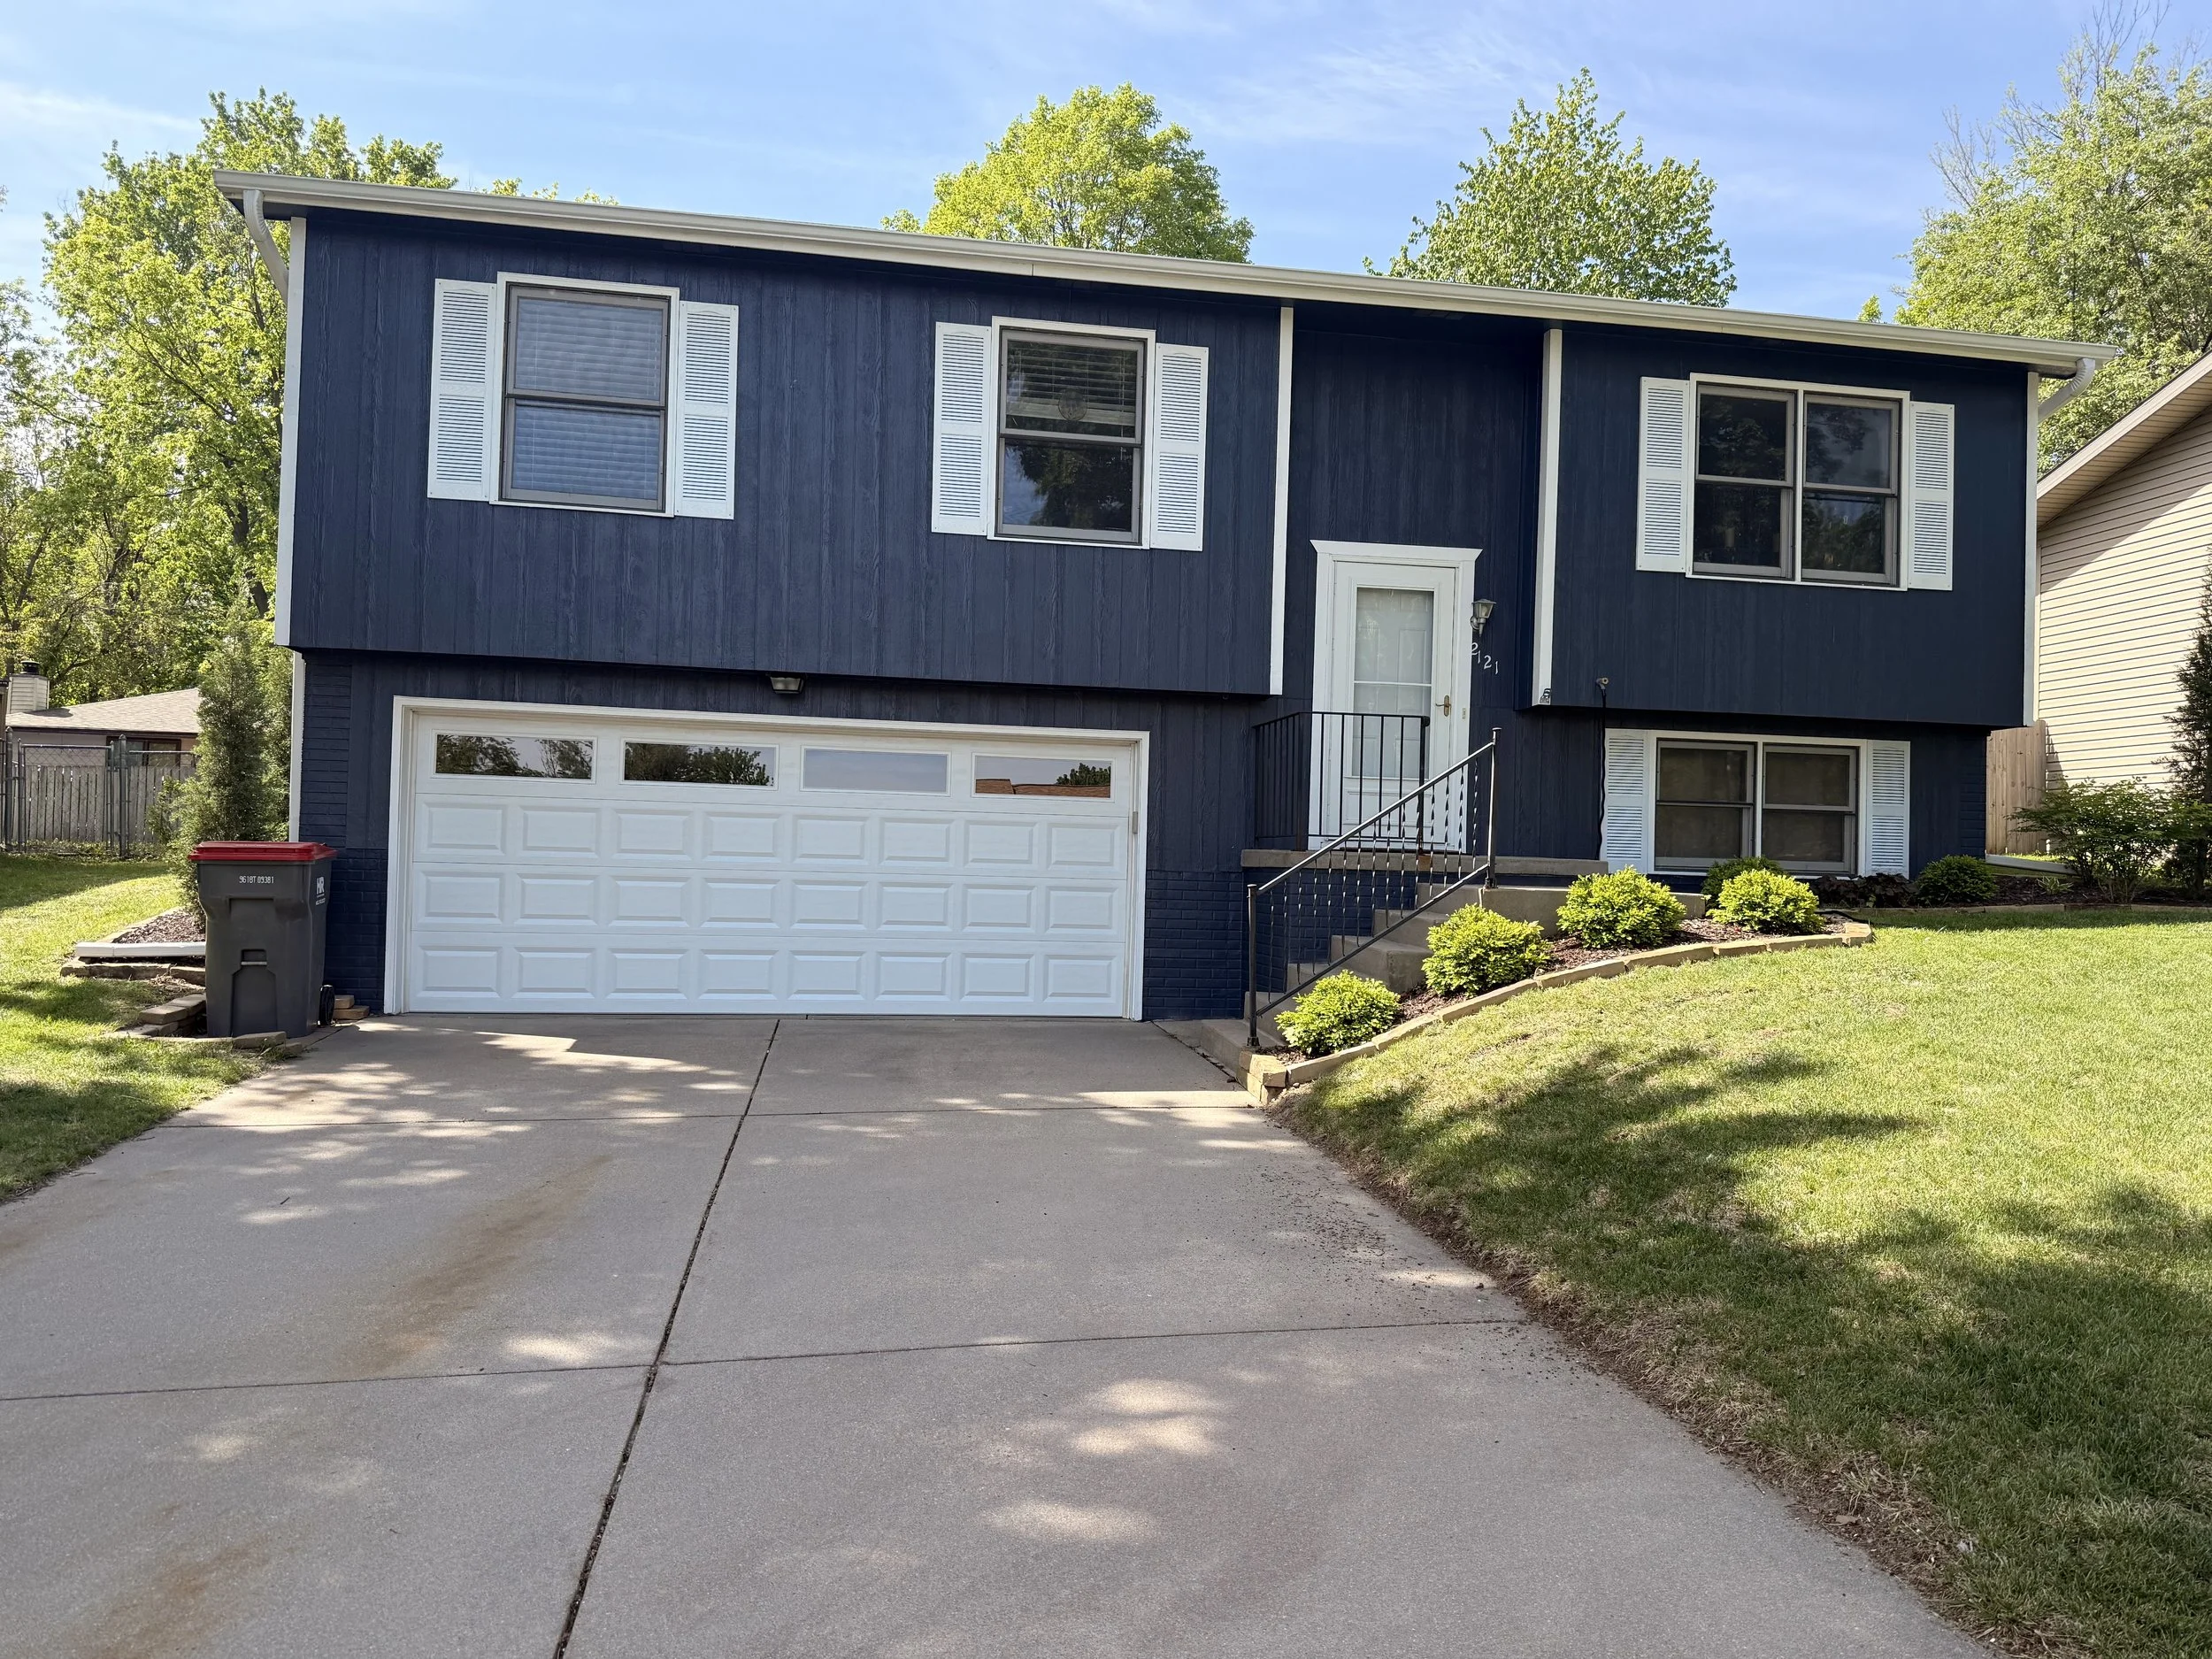
After renovation
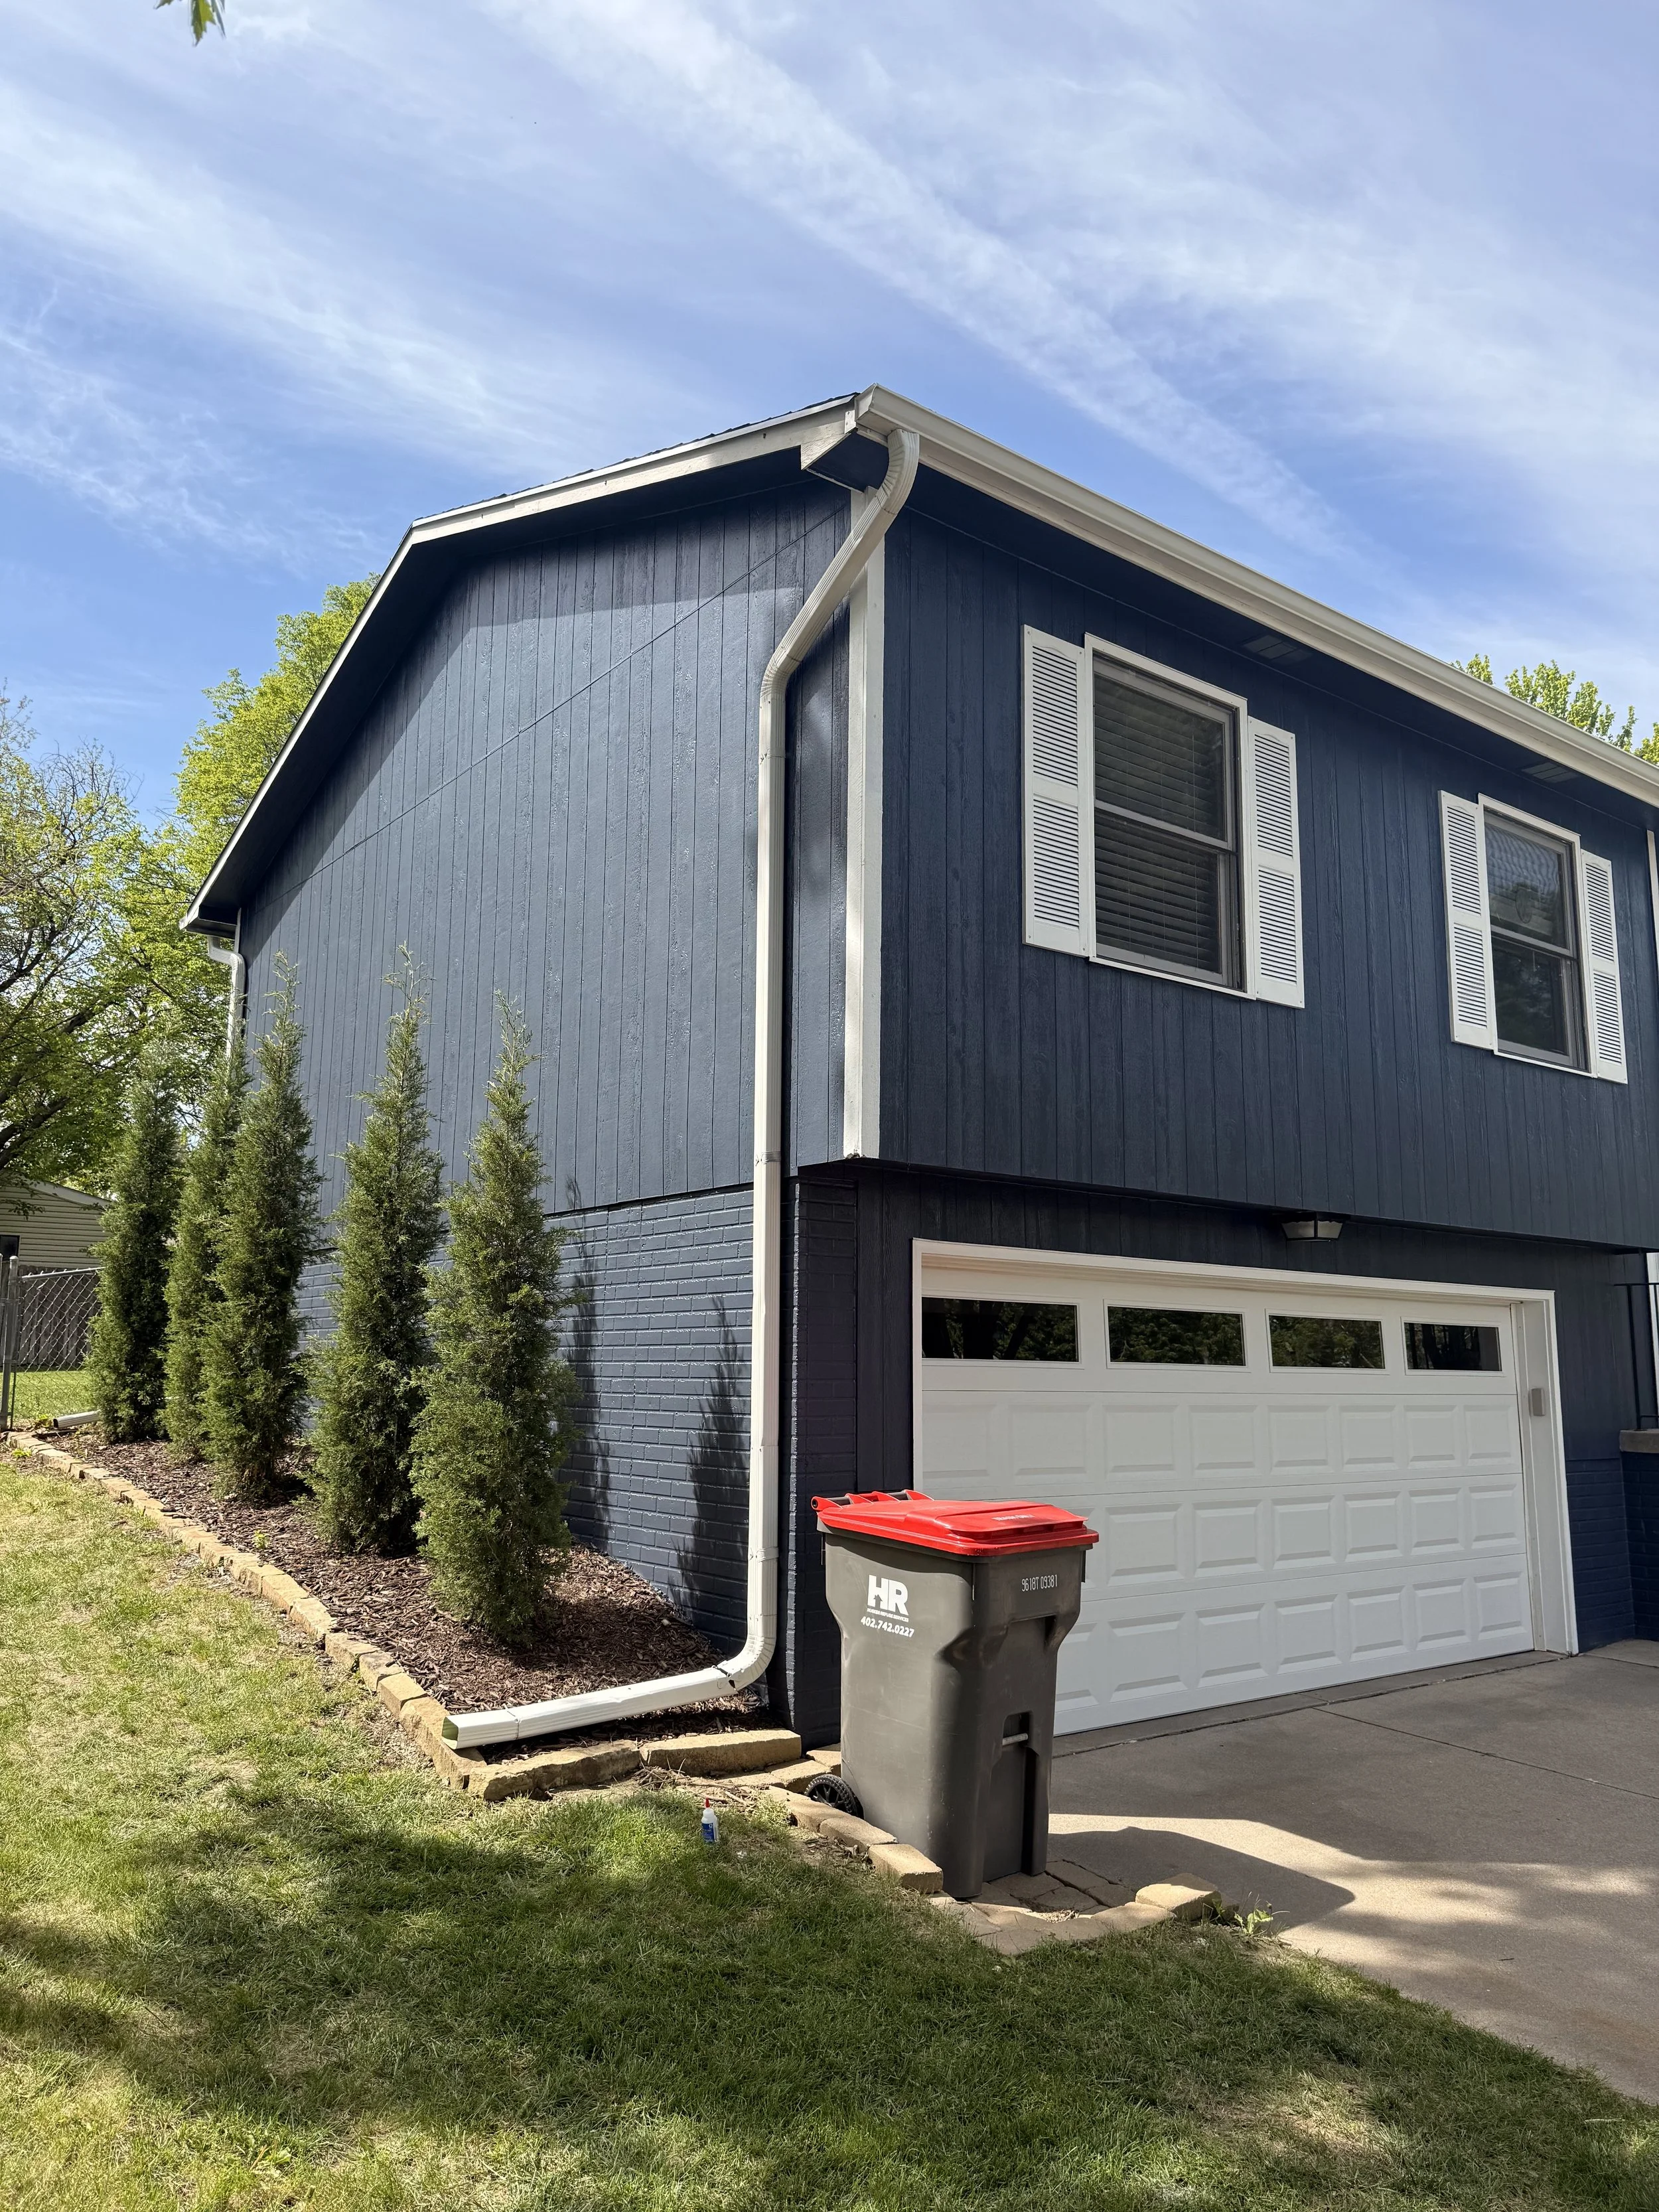
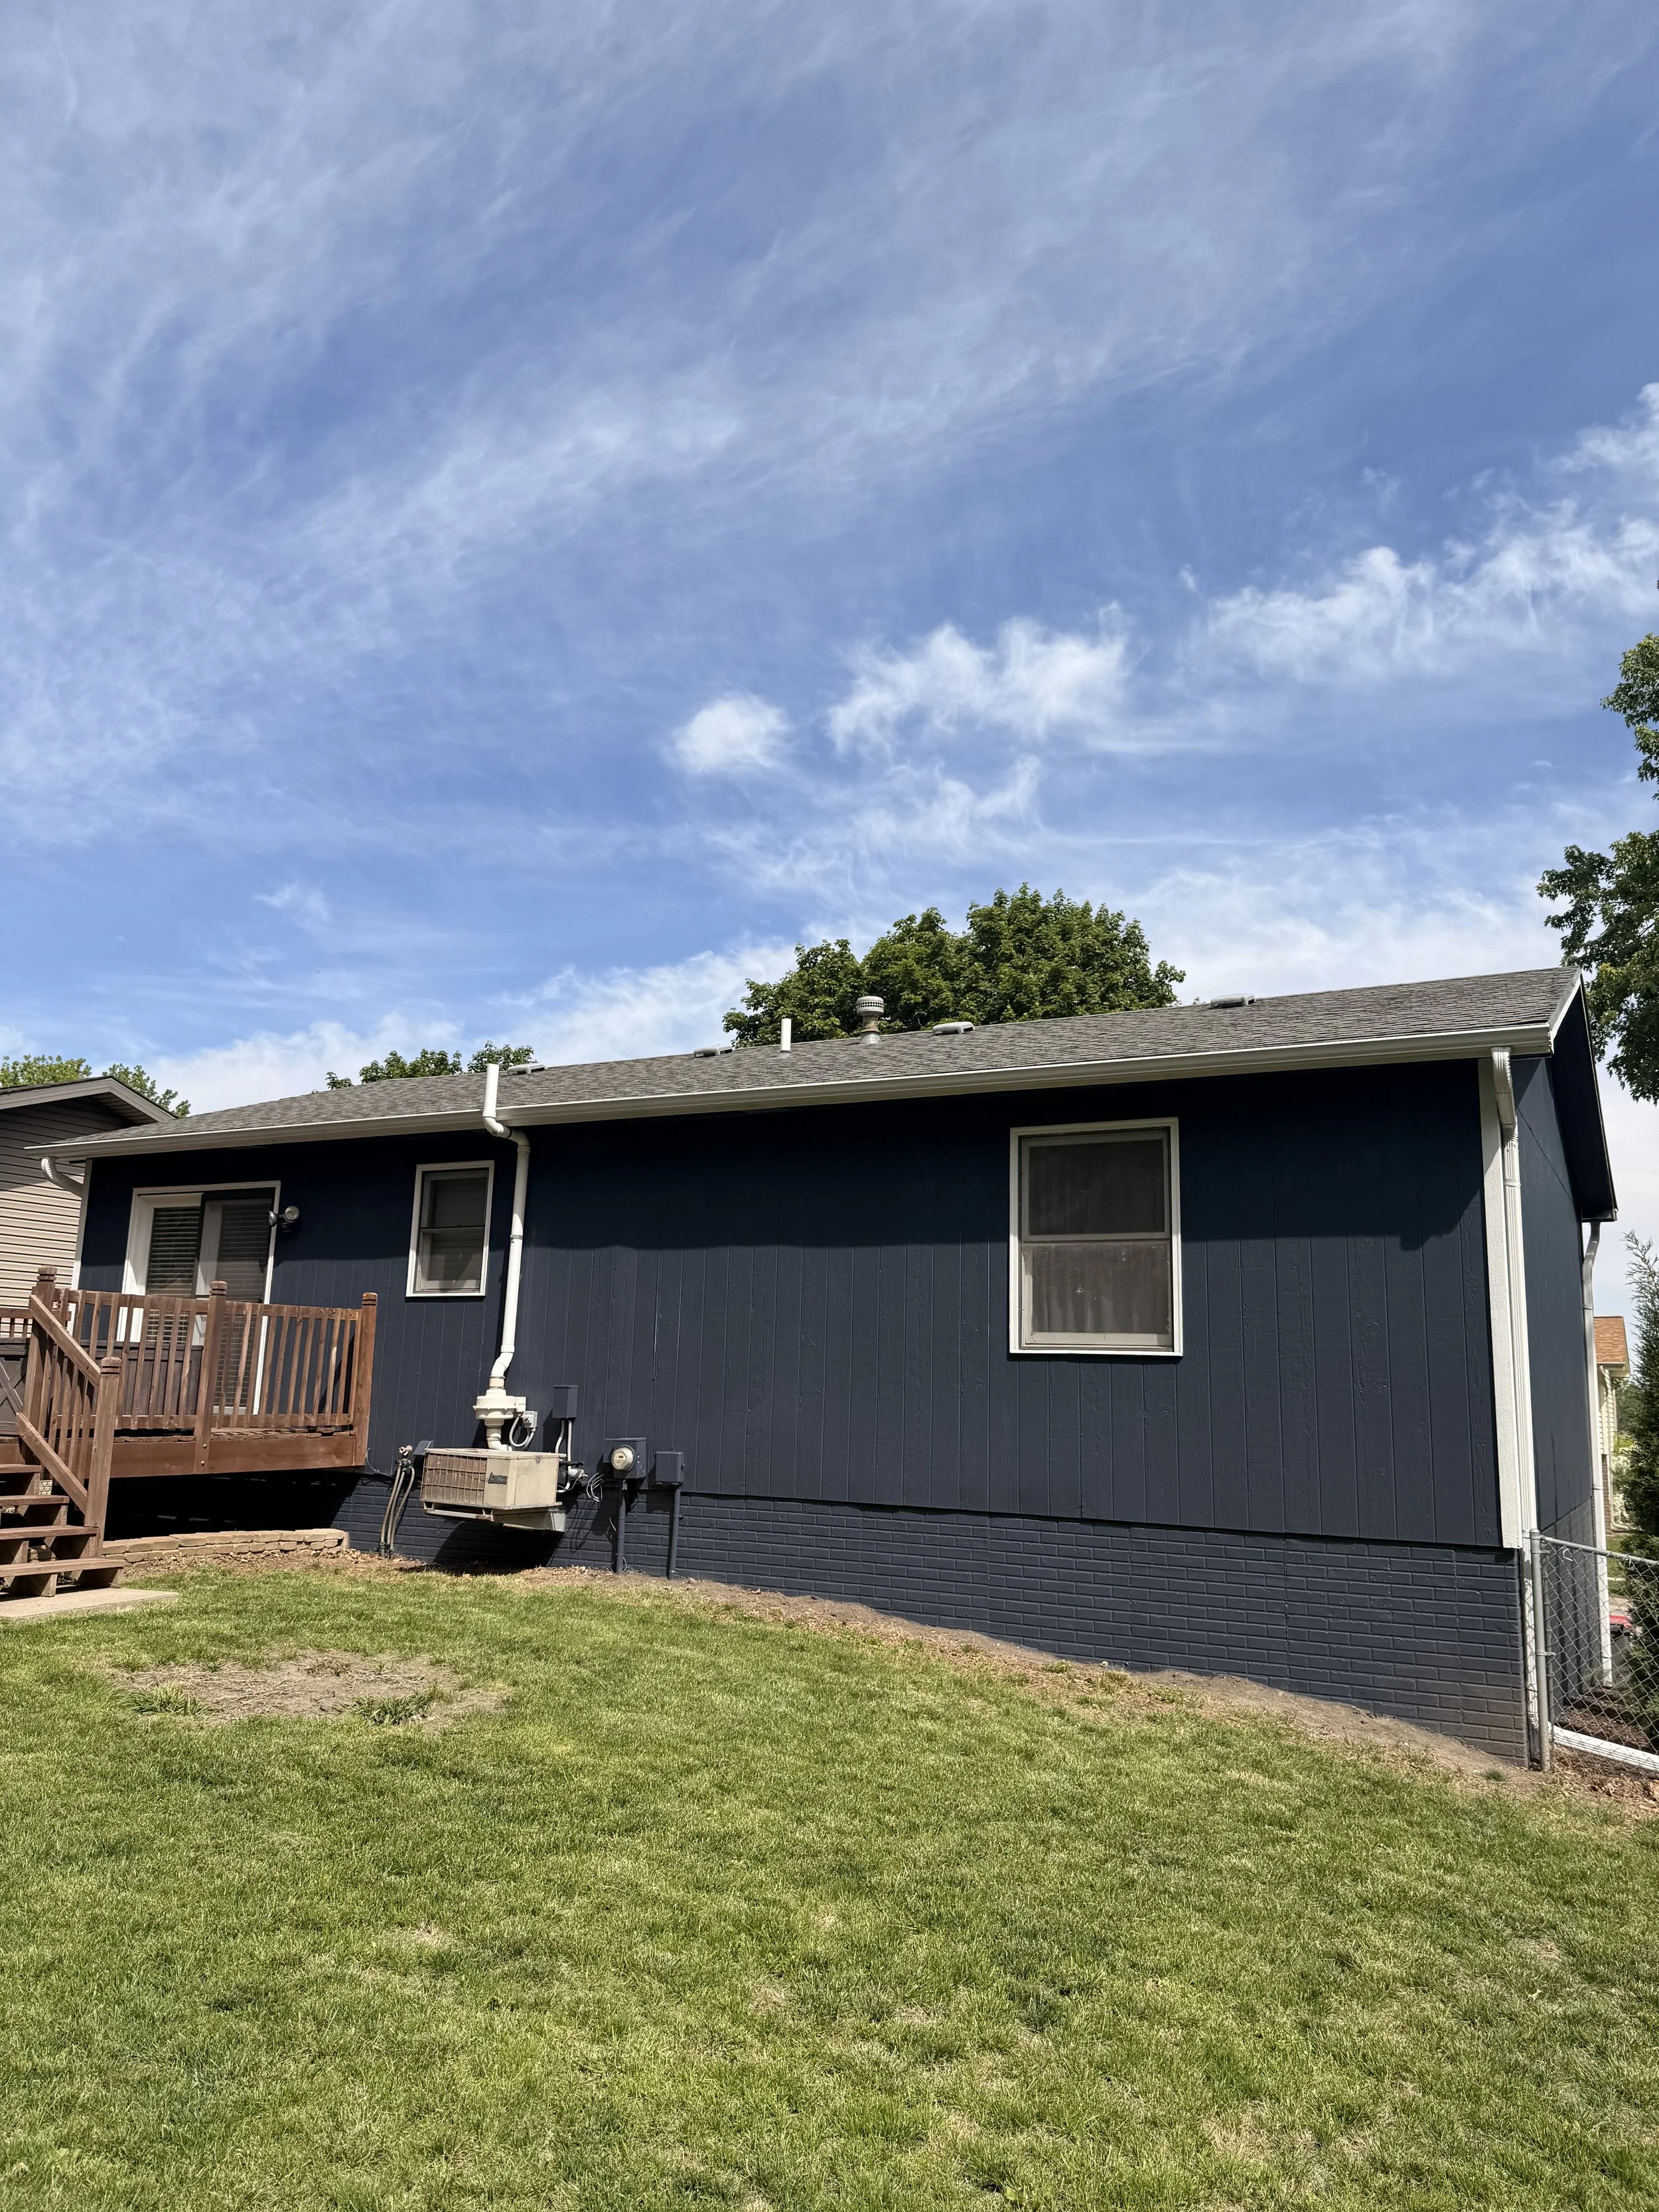
This house was freshly painted with all Sherwin Williams products. Siding was sprayed with SW 9640 “Sea Mariner”. Trim and siding was sprayed and rolled with SW 7005 “Pure White”.
This house is now the statement piece of the block. If you just wanted to added value to your home, or would like a new look like this - fill out the form on this page for a FREE ESTIMATE. We would love to come out and go through options for you.